Email Templates
Customize the automated emails and SMS notifications Finegym sends to your members and staff.
Template List
Location: Settings → Email Templates
Templates are grouped by category and displayed in a table with:
- Name — Template name with explanation text
- Status — Email status indicator (with SMS indicator if messaging is supported)
- Recipients — Staff, Member, or both
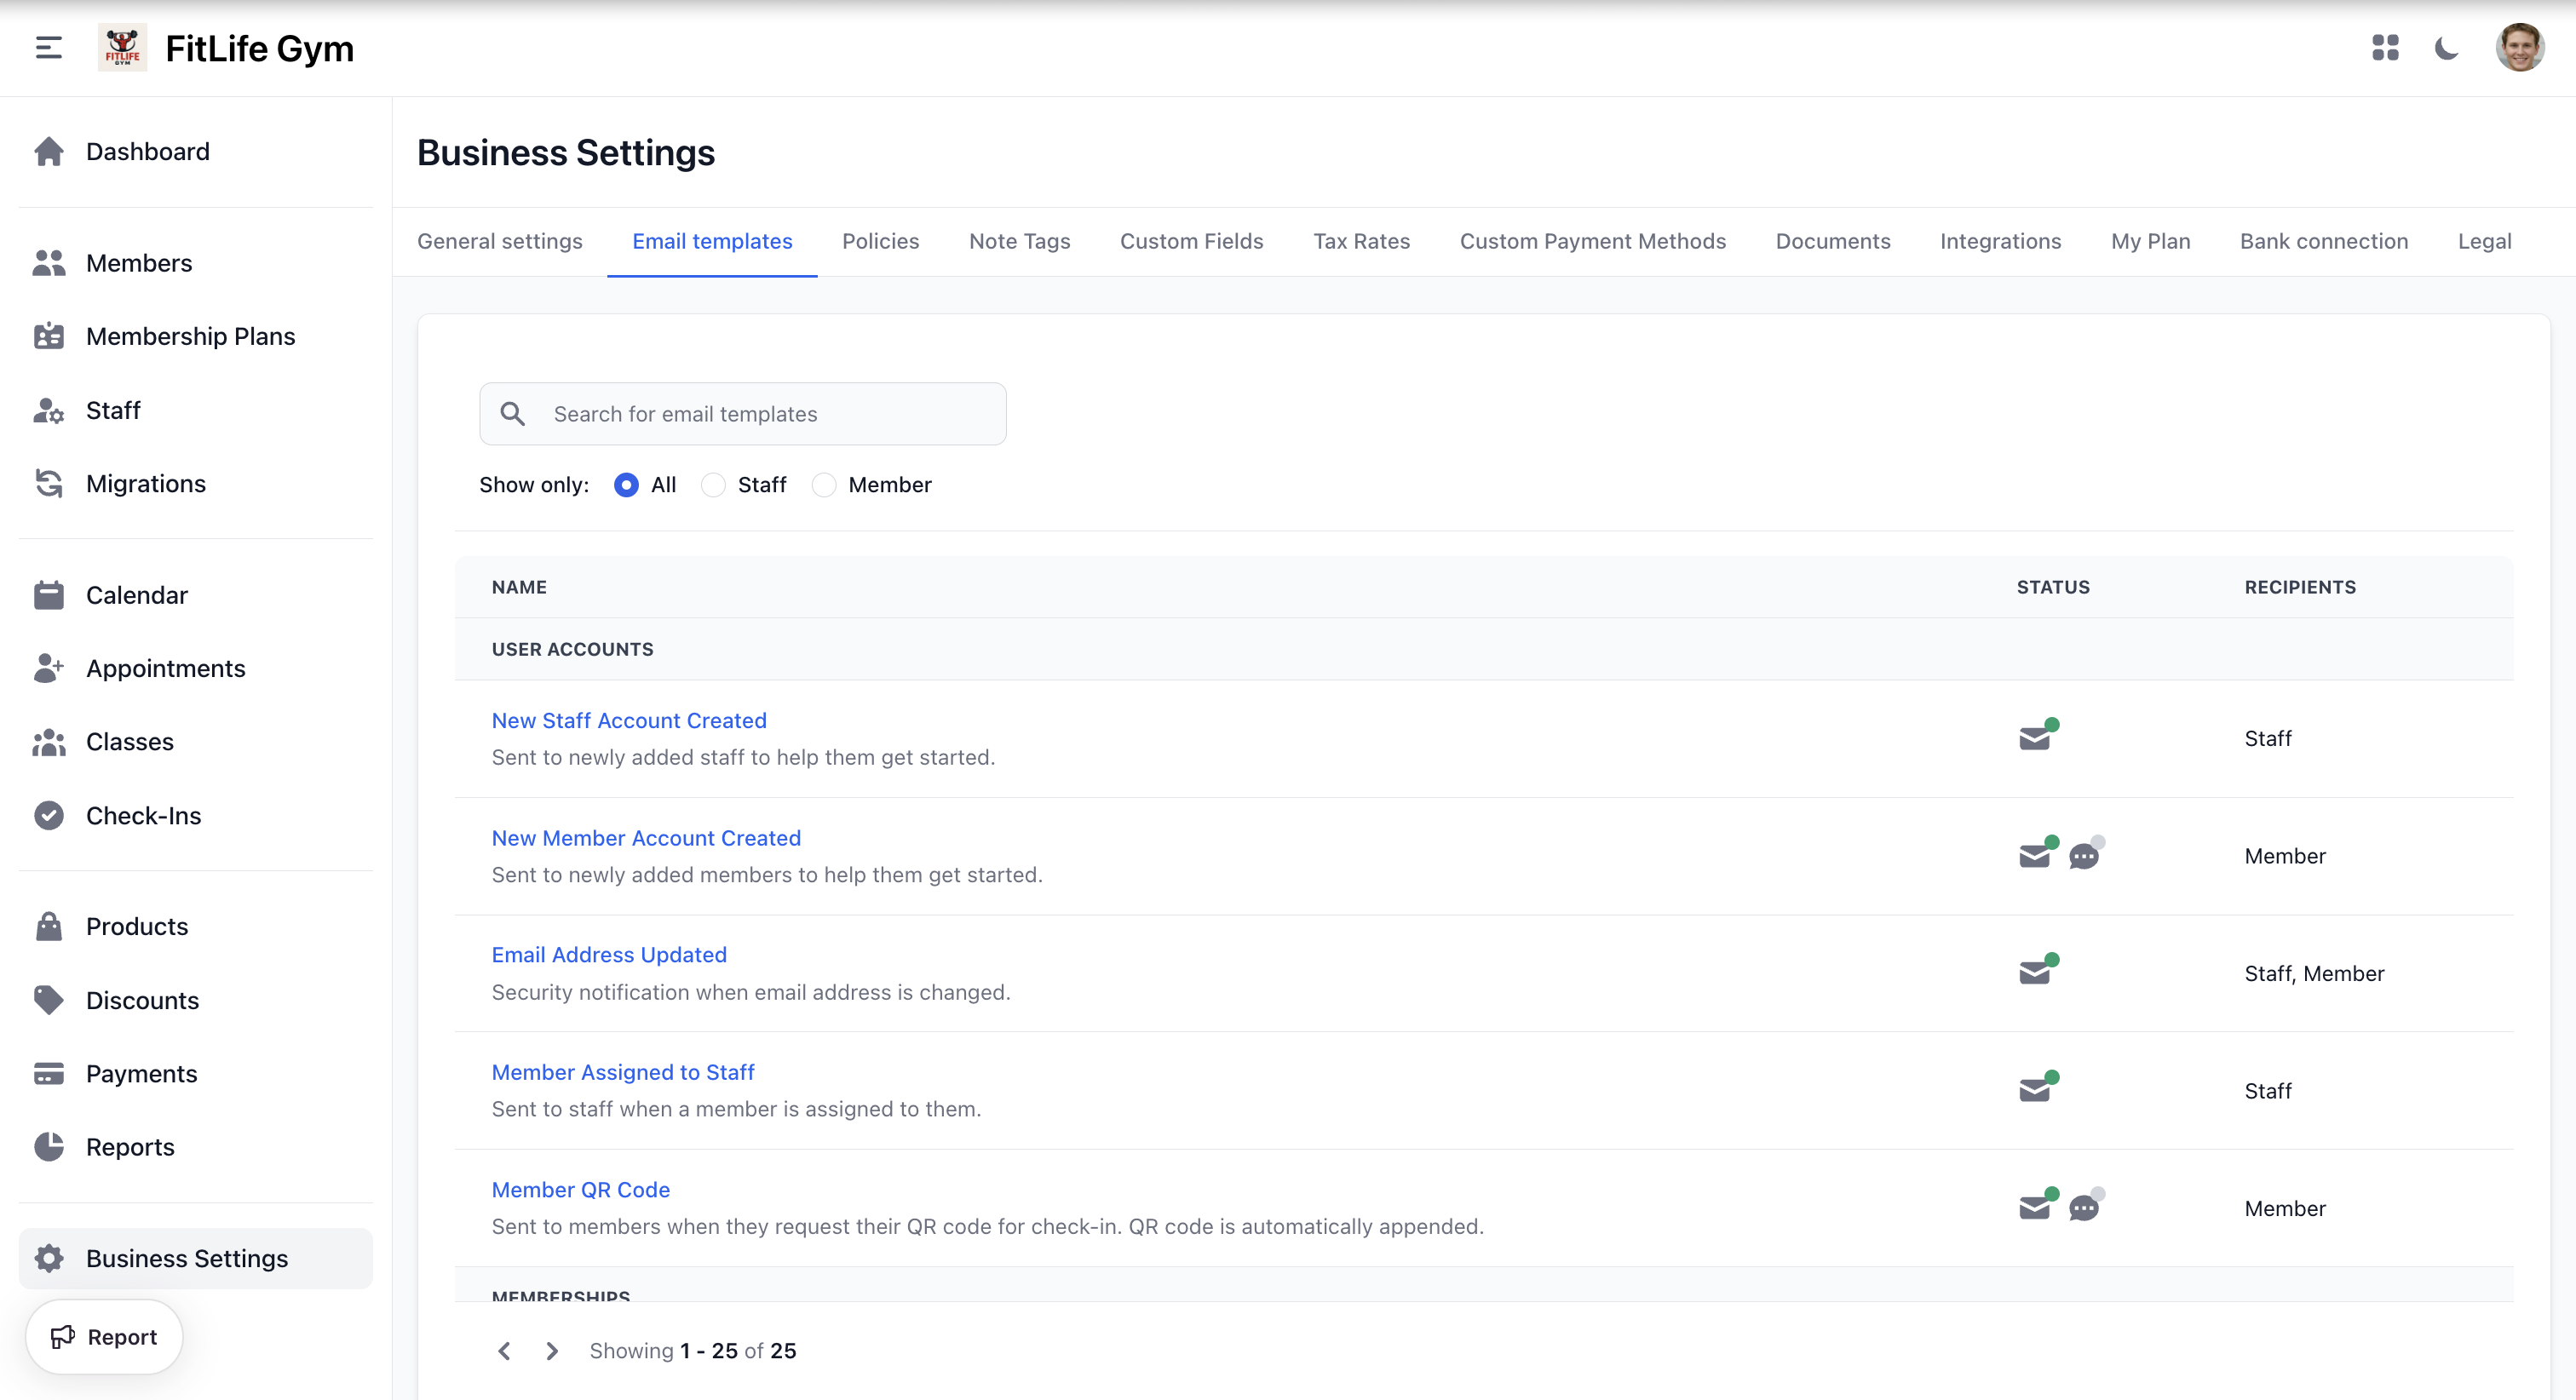
Status Indicators
- Green dot — Active for all recipients
- Orange dot — Partially active (enabled for some recipients only)
- Gray dot — Inactive
Template Categories
Templates are organized into the following categories:
- User Accounts — Account creation, email updates, staff assignment
- Memberships — Subscription due, punchcard completed, cancelled, frozen, unfrozen
- Reservations — Booking confirmation, modification, cancellation notifications
- Payments — Payment succeeded, refunded, failed
- Invoices — New invoice, invoice notification
- Documents — Document signature requests
- Inventory Alerts — Low inventory notifications
- General — Birthday emails, new leads
Editing a Template
Click a template name to open the edit page.
Customize For
Select the recipient type to customize: Staff or Member. Each recipient type has its own subject, content, and SMS settings.
Email Tab
- Email enabled — Toggle to enable or disable email for this recipient
- Subject — Multilingual subject line with variable insertion
- Content — Rich text editor with multilingual support
- Show preview — Toggle to preview the rendered email
- Reset to default — Reset subject or content to the system default
SMS Tab
Only visible if the template supports messaging (SMS/WhatsApp).
- SMS enabled — Toggle to enable SMS notifications (requires Twilio configuration)
- SMS Content — Multilingual text content (max 160 characters) with variable insertion
- Reset to default — Reset SMS content to the system default
Send Time Override
For scheduled templates, you can set a custom send time using a dropdown with 30-minute intervals.
Language Support
Templates support multiple languages. Use the language selector to switch between:
- English
- Bosnian
- Portuguese
- Spanish
Template Variables
Personalize emails and SMS with dynamic variables using {{ variable_name }} syntax.
Each template has its own set of available variables. Use the Insert Variable dropdown in the editor to see and insert the variables available for the current template. Variables are organized by group (e.g., Recipient, Business) for easy navigation.
Troubleshooting
Emails Not Sending
Verify:
- Member has valid email address
- Email not in spam folder
- Template is enabled for the recipient type
SMS Not Sending
Check:
- Twilio integration is configured in Settings → Integrations
- SMS is enabled on the template
- Member has a valid phone number
Related Topics
- Members Management - Member profiles and communication
- Integrations - Twilio SMS and WhatsApp setup