Adding & Managing Members
Members are at the heart of your gym business. Finegym provides comprehensive tools for managing member profiles, tracking activity, and maintaining communication.
Adding Members
Manual Creation
Location: Members → Add member
Click Add member to open the member creation form:
Required Information
- Full name — Member's complete name (required)
- Email — Primary email for login and notifications (required)
Optional Information
- Phone number — Contact phone with country code (optional)
- Profile Photo — Upload or take a photo (optional)
- Date of Birth — Date of birth (optional)
- Address — Street, city, state, postal code (auto-complete available) (optional)
- Country — Defaults to your business country (optional)
Guardian Information (for minors)
- Guardian name — Parent/guardian name (optional)
- Guardian email — Guardian's email address (optional)
- Guardian phone number — Guardian's phone number (optional)
Referral Tracking
- Referred by — How they found your gym (Walk-In, Google, Facebook, Advertisement, Website / Blog, Existing Member, Staff Member, Other) (optional)
- Referrer — If referred by another member, select them here (optional)
Staff Assignment
- Assigned to — Staff member responsible for this member (optional) (e.g., personal trainer)

The email address is used for:
- Member login credentials
- Invoice and receipt delivery
- Booking confirmations
- Marketing communications
Bulk Import (CSV)
To import multiple members at once, use the Migration Wizard.
Location: Migrations (in the sidebar)
- Navigate to Migrations
- Download the CSV template
- Fill in member data following the template format
- Upload your completed CSV
- Review and confirm the import
- Optionally assign memberships and send welcome emails in the following steps
See Data Migration Guide for detailed import instructions.
Member Profile
Accessing a Profile
From the Members list, click on any member to view their profile.
The profile page contains tabs for different information:
- Profile — Basic info, photo, contact details
- Attendance — Check-in history
- Membership — Active and past memberships
- Payments — Payment and invoice history
- Reservations — Class and appointment bookings
- Communication history — Email/SMS history
- Documents — Pending waivers and contracts
- Signed Documents — Signed waivers and contracts
- Notes — Staff notes about the member
General Information
View and edit member details:
- Profile photo
- Contact information
- Address
- Birthday
- Referral source
- Assigned staff

Custom Fields
If you've configured custom fields, they appear in a separate card on the profile page.
Custom fields allow you to track additional information like:
- Emergency contact
- T-shirt size
- Fitness goals
- Health conditions
Member Notes
Add internal notes about members:
- Go to the Notes tab
- Click Add Note
- Enter your note text
- Optionally select a Tag for categorization
- Click Save
Notes are visible only to staff, not to members.
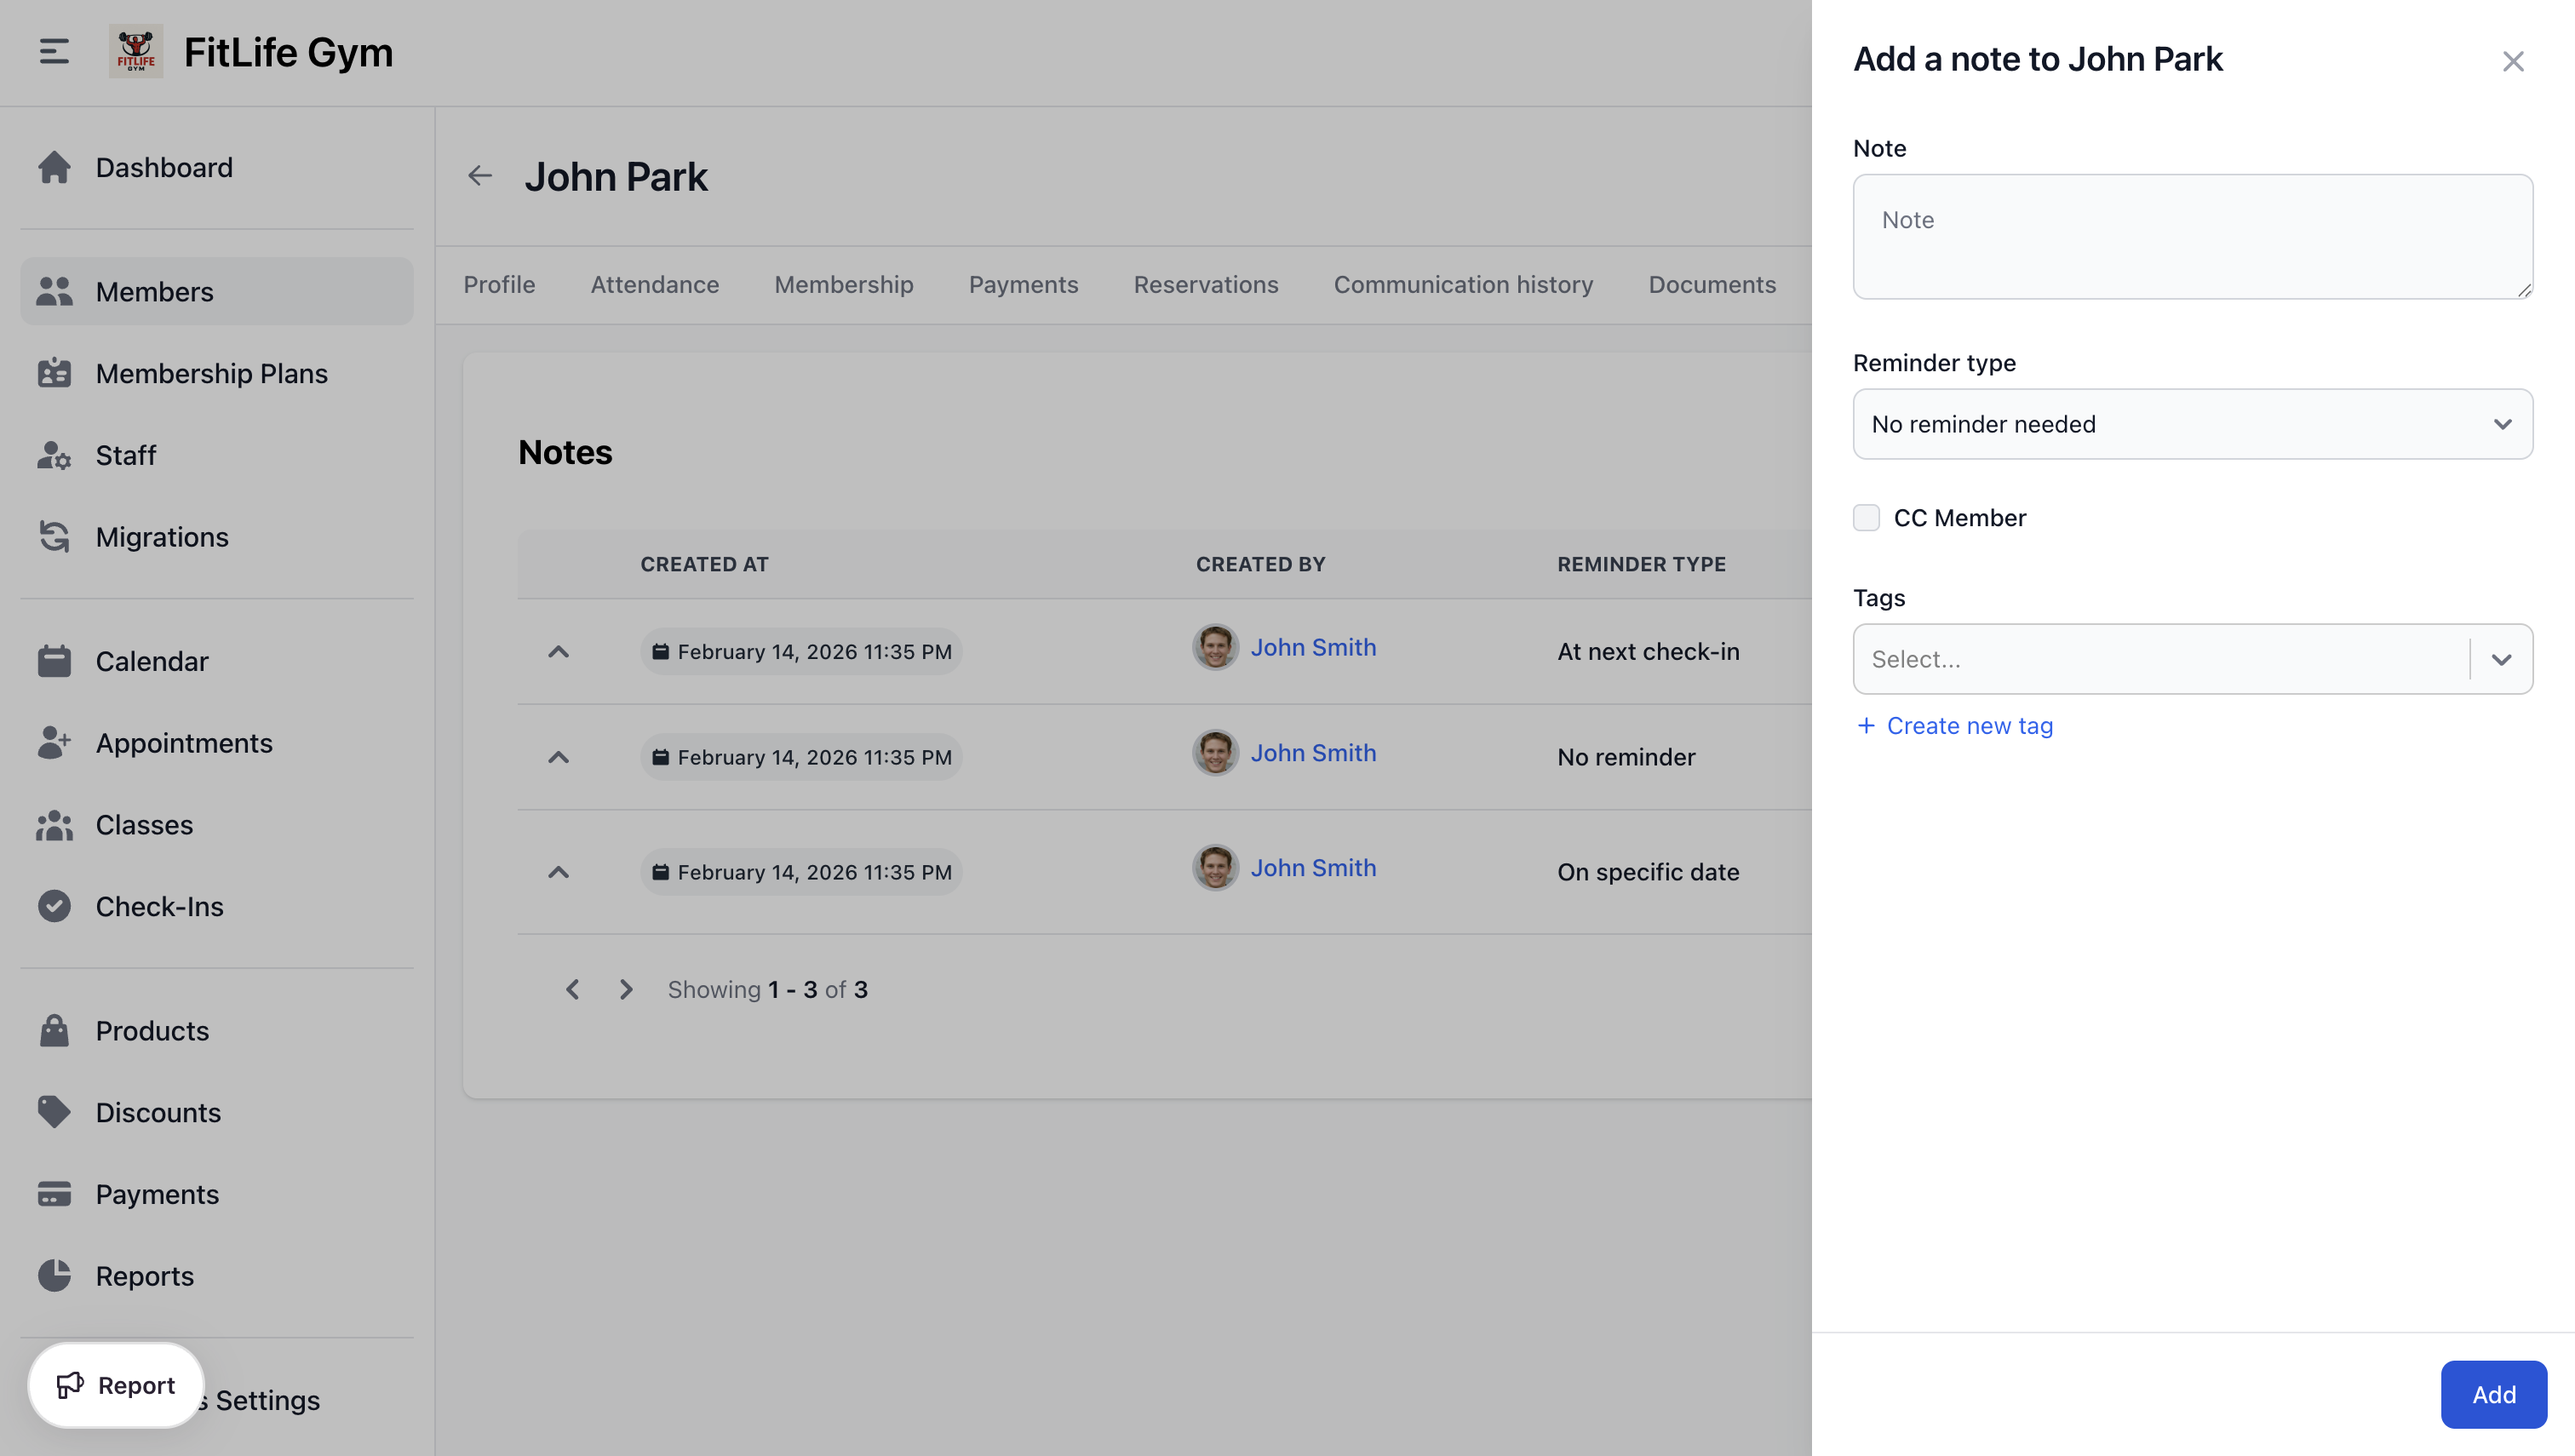
Use Note Tags to categorize notes (e.g., "Medical", "Payment Issue", "VIP").
Block/Unblock Member
If you need to prevent a member from checking in or booking:
- Click the Block Member button
- Confirm the action
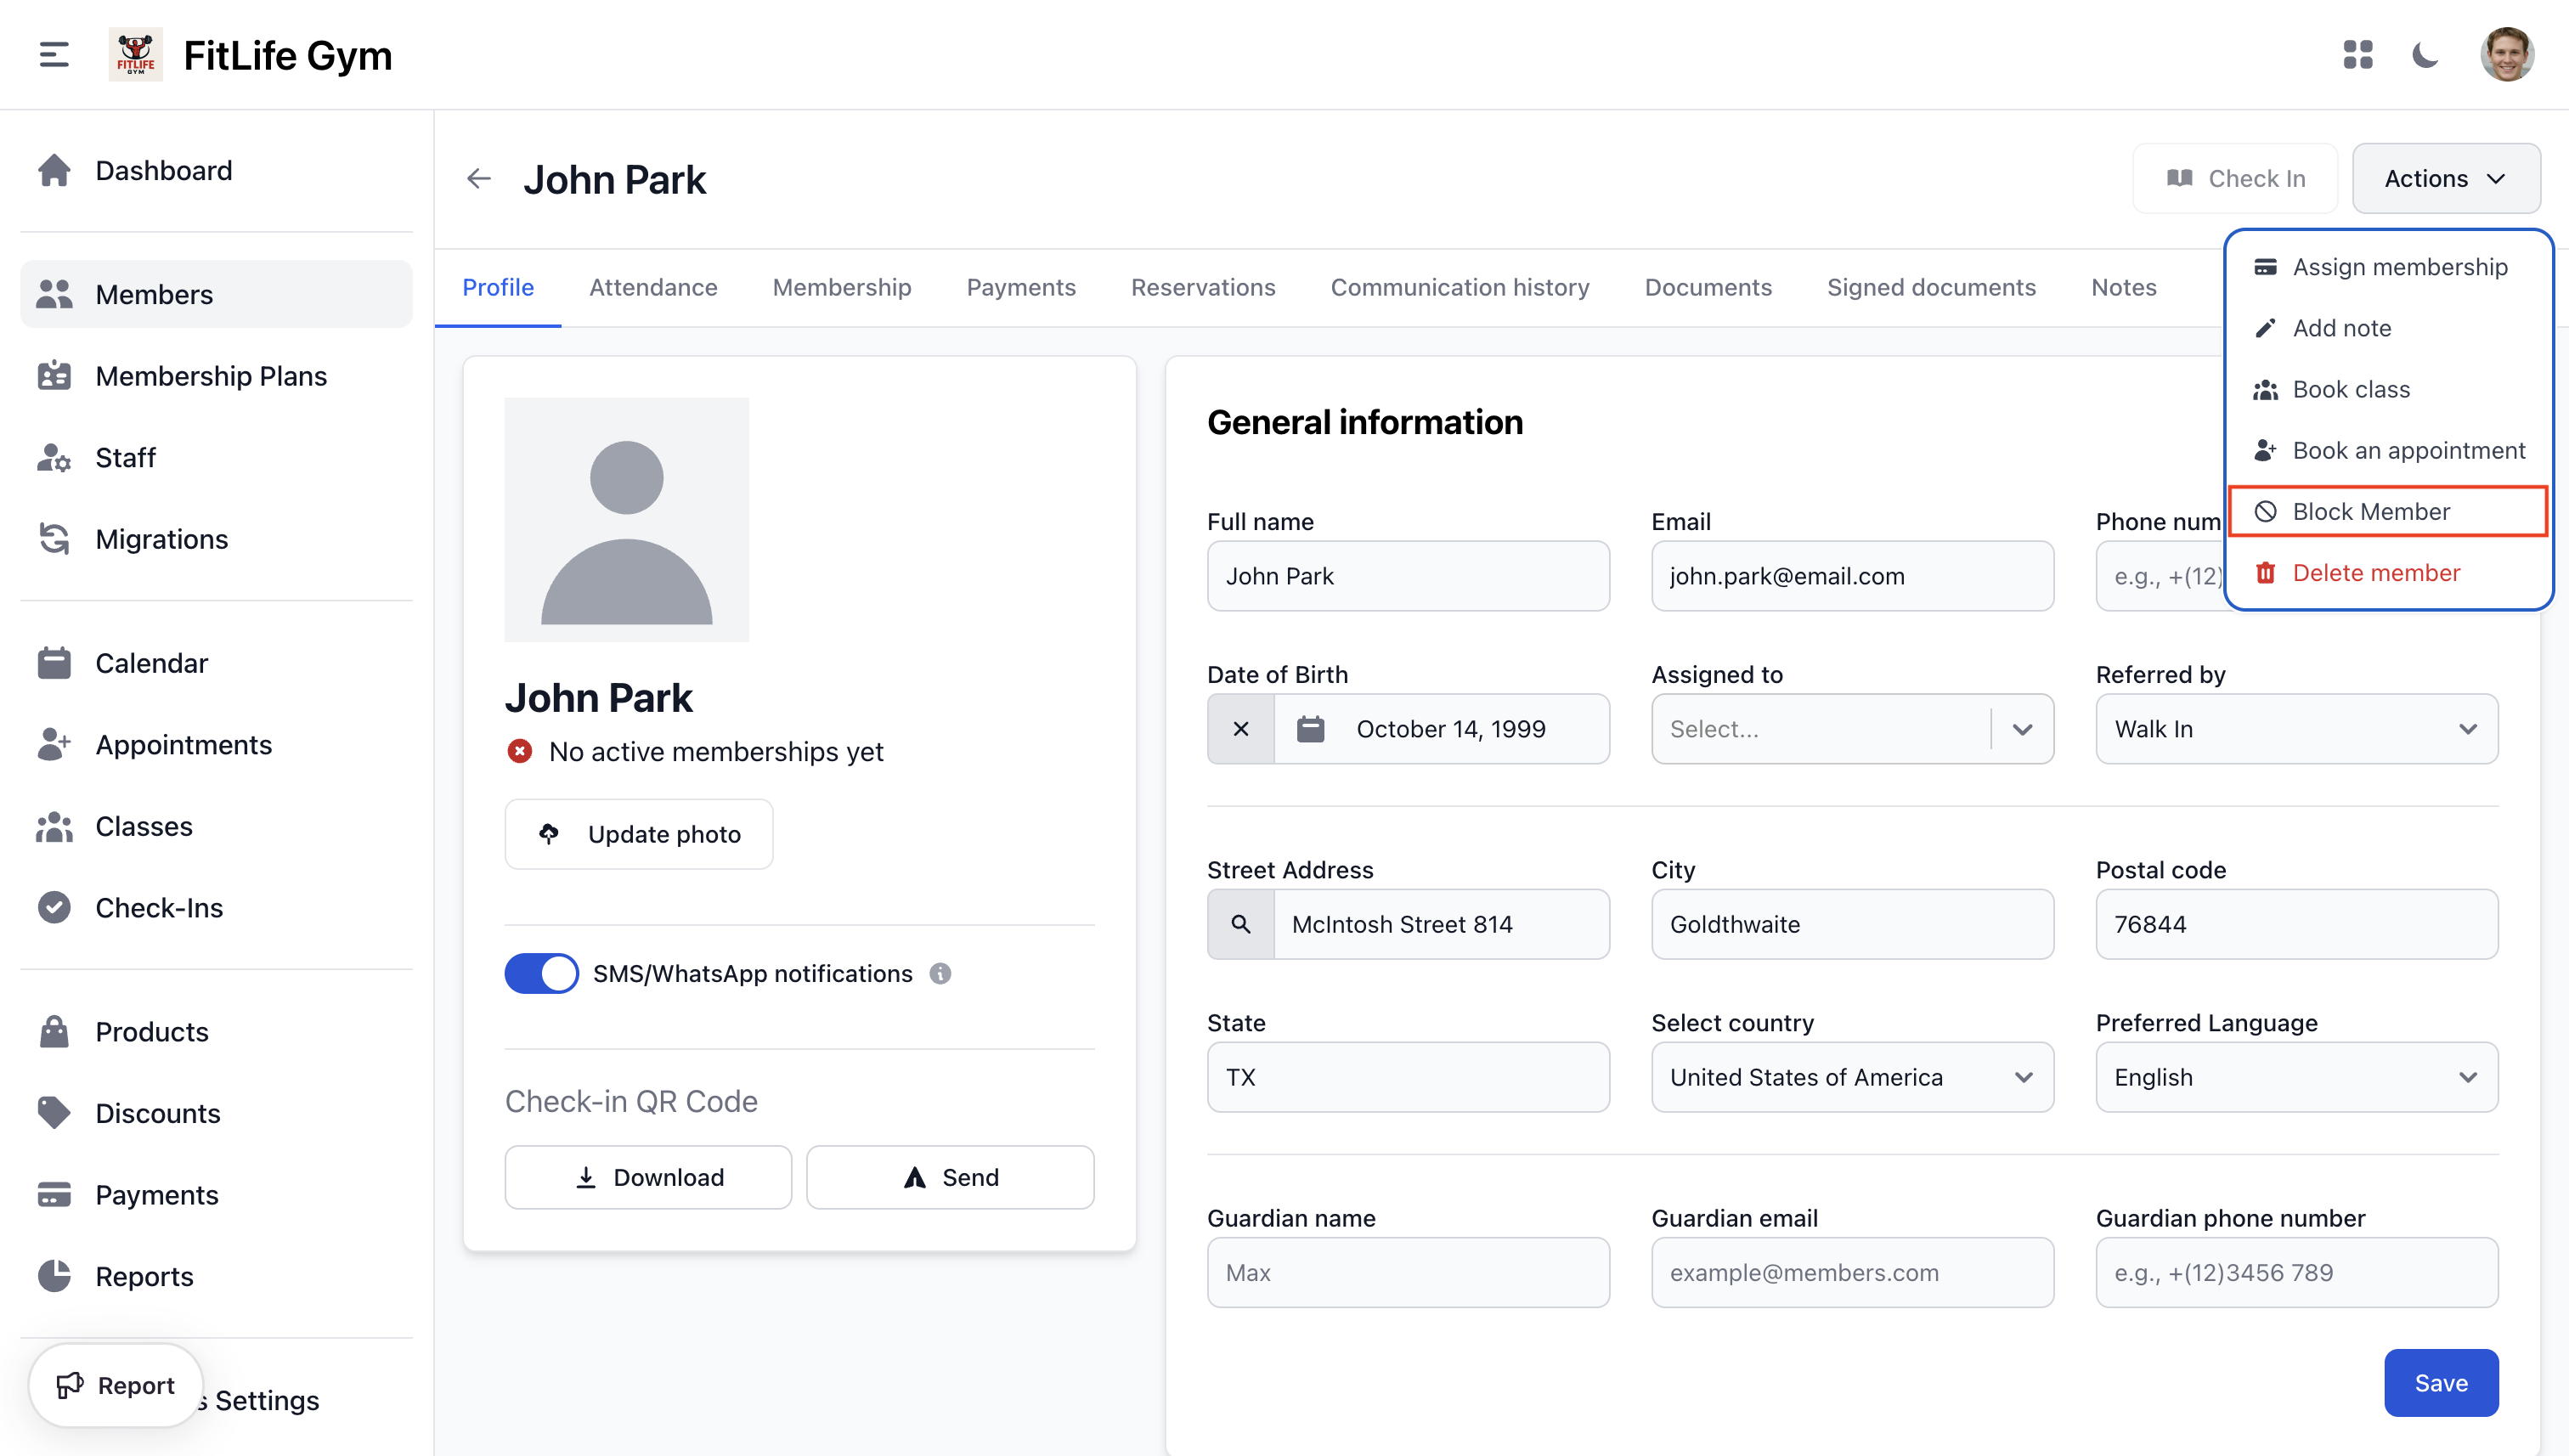
Blocked members:
- Cannot check in
- Cannot make reservations
- Cannot access the mobile app
- Still have their membership data preserved
To restore access, click Unblock Member.
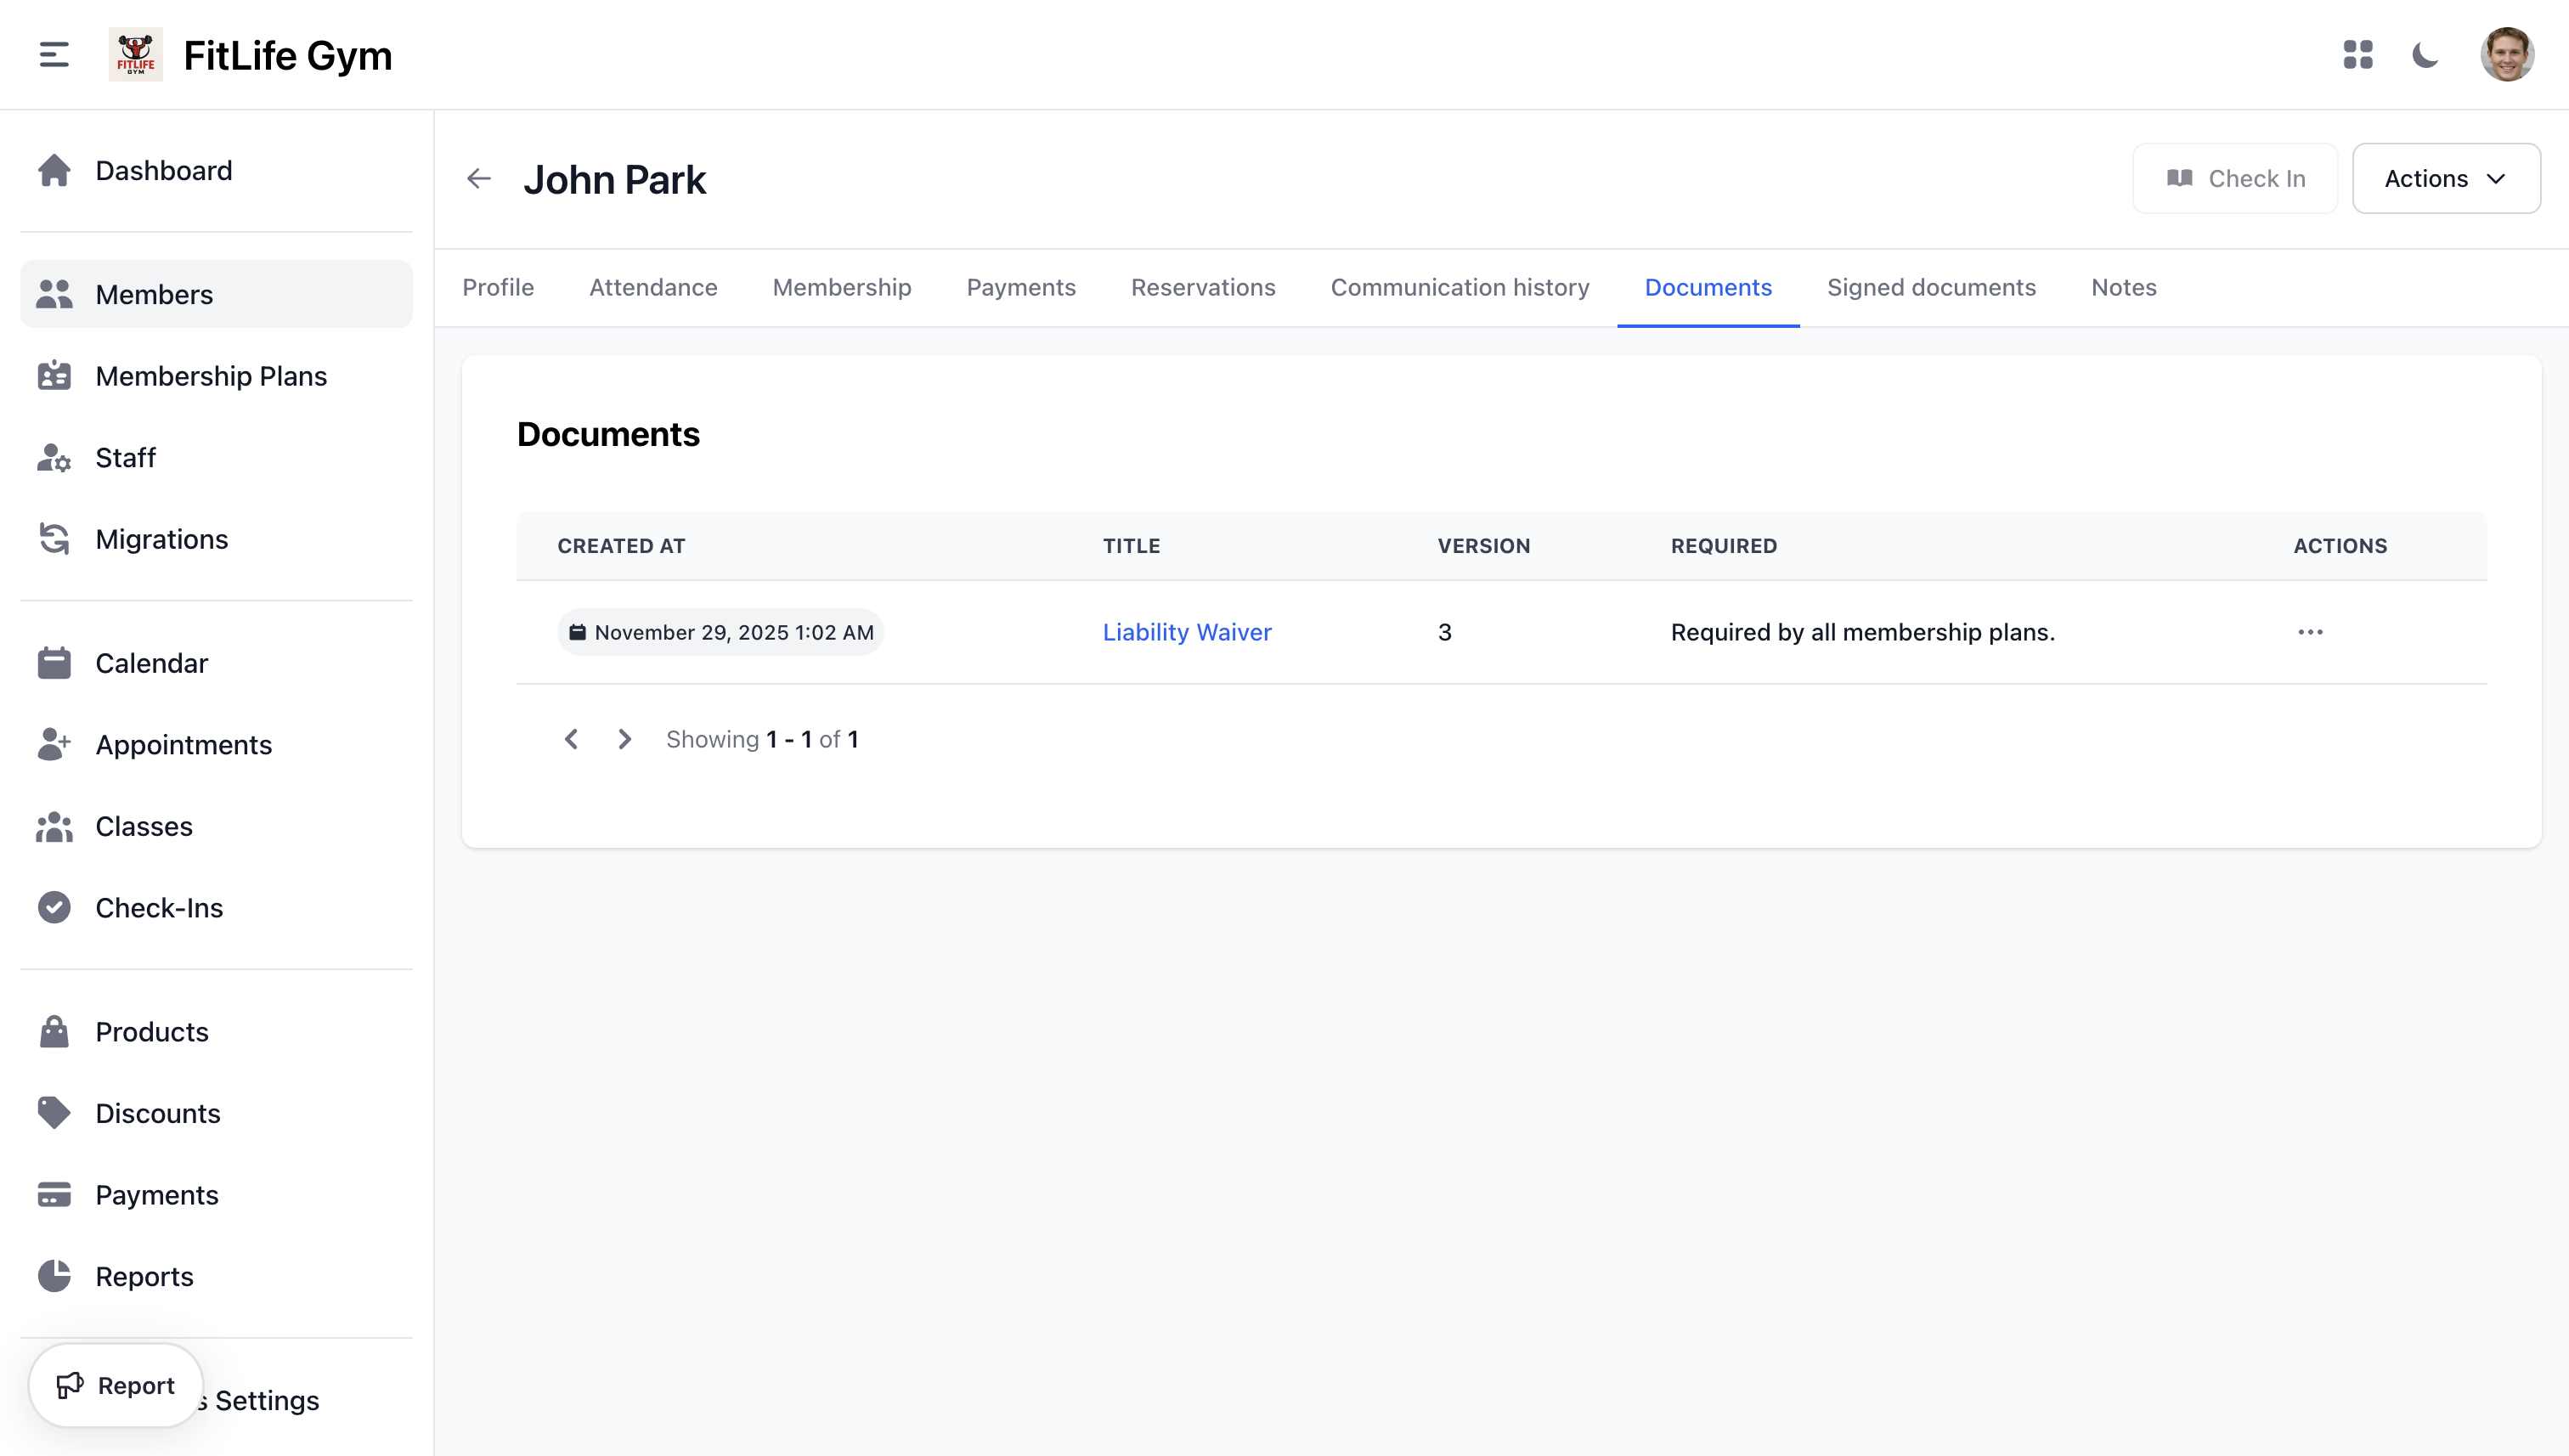
Member Documents
The Documents and Signed documents tabs on the member profile show pending and completed document signatures. Documents are automatically assigned based on membership plans.
See the Digital Documents guide for creating documents, configuring plan assignment, and signing on behalf of members.
Sign on Behalf (In-Person)
If the member is present, staff can capture their signature:
- Click Sign Document on a pending document
- Have the member sign on the screen
- Click Submit Signature
Searching and Filtering Members
Quick Search
Use the search bar to find members by:
- Name
- Phone number
Advanced Filters
Filter the member list by:
- Status — Active, Inactive, Blocked
- Membership Plan — Filter by specific plan
- Membership Status — Has active membership, No membership
- Tags — Members with specific note tags
- Assigned Staff — Members assigned to specific staff
Export Members
Download member data as CSV:
- Apply desired filters
- Click Export
- Choose fields to include
- Download the CSV file
Best Practices
Complete Profiles
Encourage complete member profiles:
- Profile photo (helps with identification)
- Phone number (for SMS notifications)
- Birthday (for birthday messages)
- Emergency contact (via custom fields)
Regular Notes
Document important interactions:
- Initial consultation notes
- Goals and preferences
- Issues or complaints
- Special requirements
Keep Data Current
- Update contact information when members notify changes
- Cancel inactive memberships instead of deleting
- Review blocked members periodically
Privacy Considerations
- Only collect necessary information
- Secure access with staff permissions
- Members can request data export/deletion via the app
Troubleshooting
Member Can't Log In
Check:
- Email address is correct
- Member hasn't been blocked
- Password reset email was sent
Use "Send Welcome Email" to resend login credentials.
Can't Delete Member
Members with:
- Active memberships
- Transaction history
- Check-in records
Cannot be deleted to preserve data integrity. Block instead if needed.
Related Topics
- Membership Operations - Assigning and managing memberships
- Member Activity - Attendance, reservations, and transaction history
- Membership Plans - Creating plans to assign
- Check-Ins & Attendance - Processing member check-ins
- Payments & Invoices - Managing member payments
- Data Migration - Importing members from other systems